Recently, I got the urge to look back through the photos taken of my son throughout his 3 years. It was interesting to me that not only was I watching my son grow up, but I was also watching my photography skills refine. When I first started taking photos, it was for the soul purpose of capturing my son’s moments in time. However, because I am a Type-A personality, I could not just pick up the camera and go. I began searching the internet for any and everything I could learn about photography techniques and about editing software. Little did I know that once I learned one thing, I wanted to learn another, then another, and then yet another. For 3 years now, this has been my life. But, when I look back at those first photos, I find myself wishing someone had a list of things for me to consider. Some of those first photos are beautiful, but I missed out on so much because I just didn’t know any better. It was then I decided to help out new parents and new to photography parents with a list to help you get “Snappy Snapshots” of your kids. SO, here we go!
1. TURN OFF THE FLASH!
No matter whether you have a basic digital camera or a more expensive DSLR, learn to use the light to your advantage and do not use the flash. On-camera flashes (the ones that pop up or go off at will) add an ugly hue to your photos and do weird things to your eyes. Learning to use your available light will INSTANTLY make your photos better. WARNING: Learning to use available light is an area of study that will take you years to master. Even then, there are new things to learn about light. I will touch on this subject later. For now, though, TURN OFF YOUR FLASH!! 😉 (For advanced photographers, this does not include bouncing flash 😉 )
2. TAKE TONS OF PHOTOS!
If you think taking 4 or 5 images is taking a lot of photos, let me ask you to consider taking 200-300. I know, this sounds crazy, but the only way to get those pictures you see on facebook that make you go, “Awwww” is by taking enough to catch the shot. I have been photographing kids for 3 years now, and I am amazed at the number of expressions I will get in a 10 second period of time! Take more pictures that you thought you should, and stop taking pictures when your kid is tired of the current activity.
3. PREPARE! PREPARE!!
Seriously…PREPARE! Not only should your batteries be charged, your cards empty and ready to go, and your location scouted out, but prepare your child! If your child is an infant or toddler, you know those times of the day when they are just NOT in their “happy place”. NEVER plan a shoot during those times unless you want punishment! It’s not fun for them, and you will not want to pull your camera out again for a long time. Pick a time of the day when everyone is happy! Make sure the kid is fully fed and rested. Then again, if you DO decide to take that picture because your schedule includes taking a boat ride during nap time, you can always smile when looking back at a photo like the one below. 🙂
4. GET CLOSER!
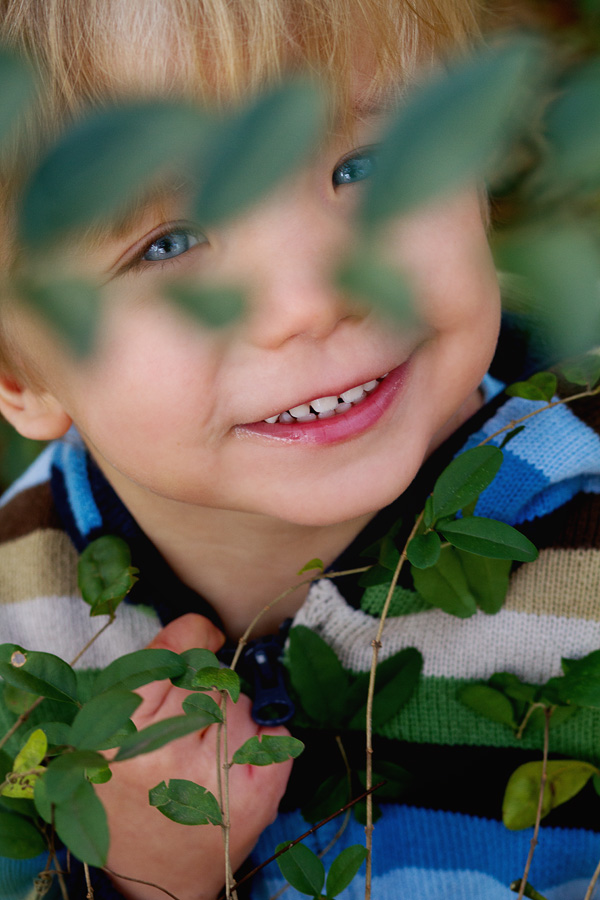
Not always, but pick a session to get up really close you your child’s face. Detail their eyes, hands, feet, ears, and eye lashes. When taking these photos, make sure you are at eye level or just above eye level. If photographing a baby, it is very easy to take the “up the nose” shot. One way to alleviate this tendency is to remember: Eye level or a bit above. Sit on the floor…kneel…whatever you have to do to get on their level. If you are a new parent, you will be AMAZED at how much your child changes. Years down the road, you will look back at these photos and smile.
6. GET CLOSER ANYWAY!
We NEED those photos that show how much they have grown. But taking a photo of your child in a room can be a tricky endeavor. Make sure you get all of the child in the picture, but it isn’t always great to get the rest of the room in the picture. What happens to most parents when taking their child’s photo is that they end up with a “Where’s Waldo” photo. “Can you find little Johnny in this picture?” One way to combat this is…wait for it…here it comes….GET CLOSER! A trick we photographers use, and almost all visual artists use, is the rule of thirds. Imagine, while looking through the camera viewfinder, a tic tac toe board on what you see. Though most have the first instinct to put the main character of the picture smack dab in the middle, resist the urge and venture out! Put little Johnny in the lower left corner! Try off to the side a bit, or in the upper corner where the lines meet. Play with this! You can find LOTS of information on the web about the rule of thirds. You will thank me later. 🙂
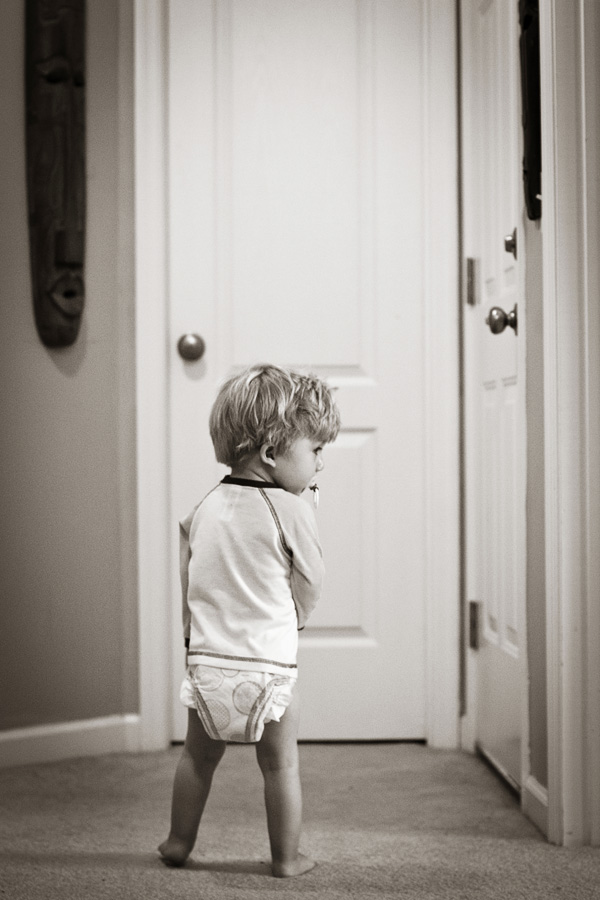
Positioning your subject through your viewfinder can do great things for a photograph!
6. CHOSE A GREAT LOCATION!
There are several factors to consider when choosing a great location, but the two most important are light and background. If shooting inside, pick a room with a south facing window. ***NOTE: ALWAYS try to avoid harsh bright light!** Photographers Trick: Look at your child’s eyes. A reflection of the light will show on their eyes. This is extremely helpful when picking a good location. You want this “Catch Light” to be on their iris and maybe touching the pupil…NOT covering the entire pupil. 2:00 or 10:00 position is optimal. Sometimes you have to click off a few shots to make sure you have it just right. Don’t stress yourself over the catch light, though. Just make sure it is there. When you to this, not only do you catch that “sparkle” in the eyes, but you help yourself to some nice light.

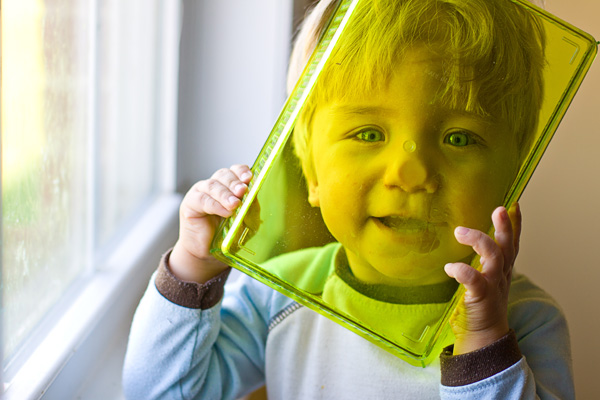
My baby doll. Check out the catch lights in his eyes. They are not perfect, but it sets off the whole image beautifully! I just sat him in front of a window!
Choosing a location background does not have to be that hard. When I first started out, I threw a white sheet over the back of the couch and laid my son on the couch. Of course, it was in front of a south facing window. I was just learning to play with light, and I was tickled pink when I saw the photos! However, there have been so many times I have taken a photo and thought, “This would have been PERFECT if I had just moved his (insert item: toy, dirty bowl, etc.)”. When shooting outside, watch out for tree branches. They will make your child look like he/she has antlers or some sort of tree or light pole or electrical wire growing out of their head. Take a second and consider the scene! AND…As always, consider the light! Outside expecially!! Avoid harsh light, and instead, move into a shaded area. BE AWARE of hot spots. Hot spots are those little harsh light places that flow through the trees. One way to make yourself really mad is to get this great picture of your kid, look at it, and then realize the “hot spots” made he/she look like they are polka dotted. Even light. Just think….EVEN LIGHT!

With no fancy camera or no fancy lens, I managed to capture this beautiful photo of my sweet little boy.

Being that I am a photographer, I positioned my son’s bed in his room in the best place I could find for light. This is what happened: I go to get him up from a nap with my trusty camera at my side, and, SNAP! I adore this photo. And, did I say I was Type-A yet? 😉
**One more trick: Use a reflector. You can cover a piece of cardboard with aluminum foil or just buy a white piece of foam board. This is a more advanced technique, but you can use said reflector to “Bounce” light back on to your subject. Just a fun little thing to try if you are interested.
7. FAMILY GATHERING: MISSION IMPOSSIBLE?
No! Difficult? Yes. When it is just you and your child, you can, somewhat, control the variables. But when you are at a family gathering with Aunt Lulu, Uncle Harvey, Cousin Alice, etc., and you want to capture the scene, everyone is doing whatever THEY want. My best advice in this situation is to scout out a good source of light in the room and hang out around there. When Uncle Harvey makes his way into this light, shoot it. If Aunt Lulu wants her picture taken with little Johnny, say, “AWESOME! Come and sit RIGHT HERE!”. Now a’days at my family gatherings, people know what I do and they listen (or run…lol!). The main thing is to have fun, but keep in mind that good pictures require good light. Nest near the good light! If you have older kids, you have more freedom to do some surveillance. Go around, outside and in, and find your friends or relatives who are in good light and shoot it! Understand that these photos may not be the best of the best, but they can be SUBSTANTIALLY better than they were in years past! Embrace the imperfect!
8. PLAY! PLAY! PLAY!
No matter what type of scene you find yourself in, PLAY! Stay light-hearted and fun! SMILE! When taking photos of your child, play! There are times your kid is NOT going to want to cooperate with where you want them to sit or stand. That is totally cool! Let ‘um go! Just follow, and when they do manage to stop in good light, SHOOT IT! The very last thing you want (trust me) is for your kid to frown and pout when you pick up your camera. Fortunately, I started out making “Camera time” fun for my son. Now, it is just another fun activity we do! It is equivalent to going to the park, coloring time, TV time, etc. It is just something we do that is fun! Create this for your kids! Show them the photos! Get them involved! It can be a really special experience. Not just because you have these beautiful photos to remember how amazing your child was, but because you are creating these great memories of the experience. One of the reasons I love the photos of my son so much is because I remember the events surrounding the capturing of the photo. I cherish those memories, and you will, too!
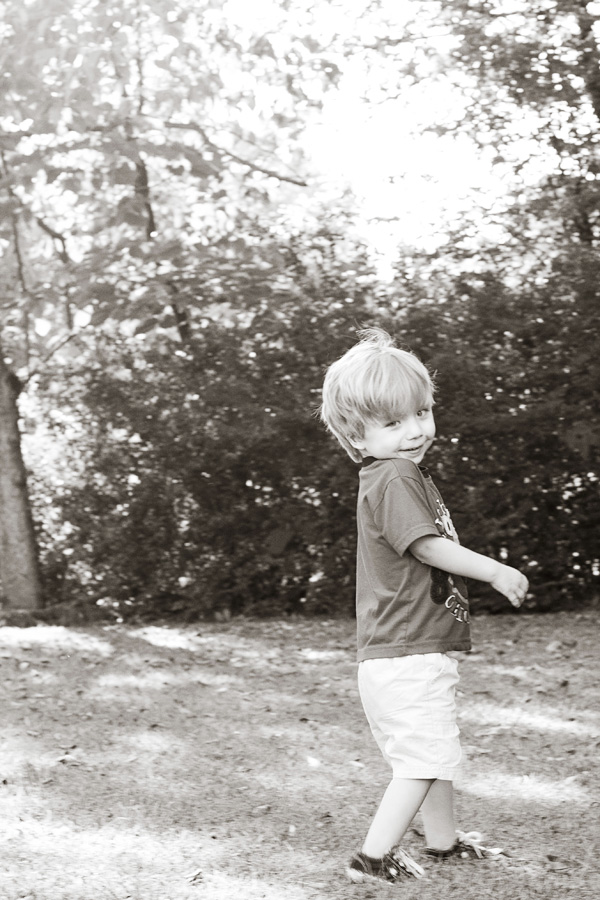
Sometimes you just have to catch them mid stride. I sat in one place in the middle of the yard and snapped the shot when he was in good light.
9. KNOW YOUR EQUIPMENT and PRACTICE!
Read the owner’s manual. Seriously. Learn the camera, and know it so well you can do whatever you need to do FAST. I have learned my camera so well that I can change settings without looking half the time. When I do look, I change them FAST. I read the manual. And I practiced, practiced, practiced! Take out your camera and look at all the buttons and learn what they do. You can have a point-and-shoot or a fancy pants DSLR, but either way, you need to learn how it works. I have taken, literally, thousands and thousands of photos. You need to do the same if you want snappy snapshots of your kids. Depending on how good you want to become is dependent on how much you want to control your camera. You do not have to know everything about how to control the settings of your camera, though. There are many “modes” that allow you to control it as little or as much as you want. WARNING: being in complete control of your camera requires an enormous amount of learning and trial and error. Learning these things does not happen overnight. I am still learning the intricacies of control. I am certain I will never stop learning.
10. GET A DECENT EDITING SOFTWARE, AND USE IT SPARINGLY!
One MAJOR mistake most photographers make (and I have been guilty) is overdoing it on the editing. So, as I go through this tip, keep in mind that editing is as much of an art as taking a photo is.
SO…pick out a good editing software. I use Adobe Lightroom and Adobe Photoshop 6. Lightroom is about $200. It is somewhat easy to learn the basics, and you can find some nice presets for the software. A preset are predesigned effects for images. You can find hundreds of different colors and black and white presets for lightroom.
Photoshop Elements is a great starter editing software. It is relatively inexpensive (I think it is about $99 or so). And, as far as actions go (which are sort of like presets for Lightroom), you can download TONS of free ones online. The Coffee Shop Blog has some very tasteful editing actions free. She is also a great instructor.
However, I will warn you, ALL YOU NEED TO DO IS ENHANCE THE LIGHT AND COLOR! You don’t have to get all fancy dancy with this. **Warning: DO NOT over saturate your colors. I see photographers out there who charge people good hard earned money, and the pictures are so over saturated that the subject looks like an Oopa-Loompa standing in a Willie Wonka field that was rained on with crack: all orange and gross, and the background is, well…neon. Please, use your editing software carefully. If it looks way different from the original, then question it.
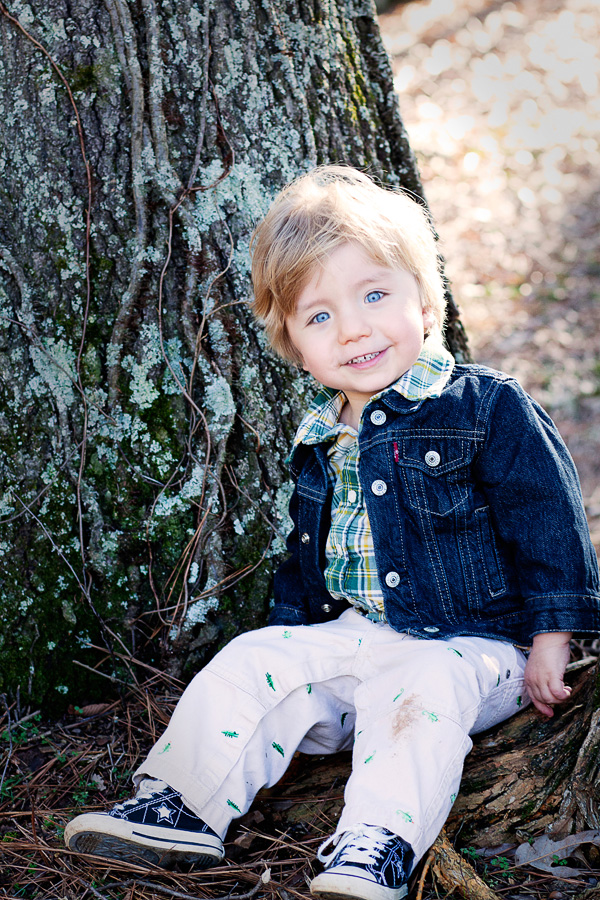
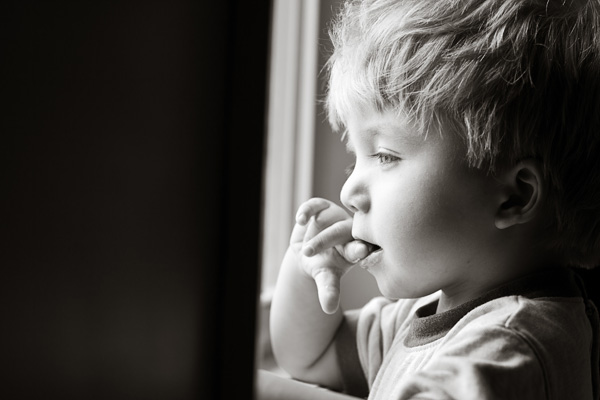
This is an example I have for limited editing. All I did to this photo was to enhance the lighting and added a VERY SLIGHT bump to the colors. I can’t help my son’s eyes. They are just that blue! I know all my photog buddies think I do all this enhancement to them, but I do nothing to them. He just has some pretty peepers 🙂
I hope this has been helpful to you. Please understand that most of the skill you learn will be through trial and error. You just have to do it. A LOT! Try new things. Set yourself a goal of shooting something 2-3 times a week. Most likely, this isn’t something you will want to do as a career. However, you should be able to take beautiful photos of your child, and not have to wait until that photo shoot with a professional to see how much they have changed. Do not go canceling all your sessions with your family photographer, but do try to make good pictures of your kids during the “in-between” time.
I hope you enjoy this little Christmas gift of learning how to take snappy snapshots! May your holidays be grand, and your photos be beautiful!
Autumn




As a former dabbler in the photography field, I have to say you are AMAZING!!!!!!!
Thank you so much!
Thanks Autumn, I enjoyed it and learned some new things to try. I’m a big user of flash….guess I’ll have to work on that one. And I have to say….you’re little Dude is gorgeous, love them pretty peepers!